0013Designing and Printing a Battery Dispenser
2017-03-25
Some weeks ago I started to learn how to do 3d modelling in Autodesk Fusion 360. To practise my skills I challenged myself to design a small, 3d printable, and reasonably useful object from scratch.
The first thing that came to my mind was a battery dispenser1. Now this is not something nobody has ever done before – Thingiverse for example already has a lot of them. But I intentionally did not look at any existing designs before I started to avoid spoiling my imagination.
Turns out it is surprisingly difficult to design something as simple as a battery dispenser if you have absolutely no idea how to start.
First Design
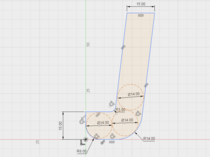
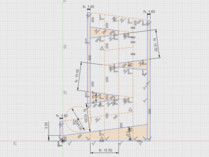
After some contemplating I decided to start with a design that would resemble the letter “J” if you looked at it from the side: A slightly slanted vertical box and a horizontal tray to take out a single battery at a time.
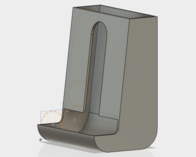
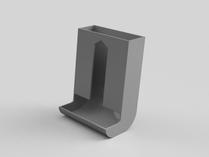
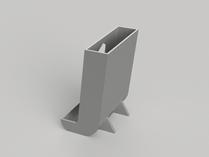
Here are the steps leading to the complete final model:2:
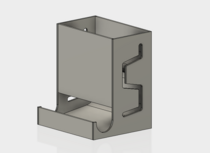
As you can see I started by extruding the drawing and using the “shell” command to make the body hollow. I then cut away some parts to make the openings and lastly I added two stands at the back to keep the dispenser from toppling over.
The vertical opening in the front wall is purely decorational. Its top end is triangle shaped to allow for easier printing3.
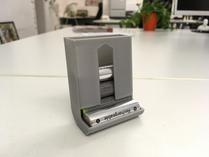
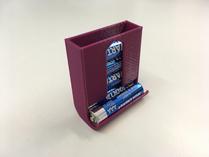
I printed the model on our BQ Prusa Hephestos and to my big surprise this initial attempt already turned out perfectly usable4:
Links
- Model on Thingiverse: http://www.thingiverse.com/thing:2196731
- Fusion 360 source file
Second Design
Inebriated by the success of the first design I decided to tackle a more complex second design: This time, the dispenser should contain kind of a zig-zag pattern, allowing for more batteries while keeping (roughly) the same height.
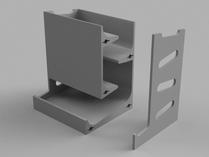
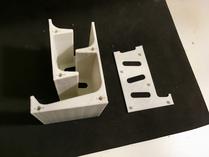
This design went through more iterations: its Fusion 360 source file has 18 versions, while the first design’s has only 8. Because of the more complex inner structure I realised that it wouldn’t be possible to print this design as a single part (at least not without having to add support structures in places where they would be quite difficult to remove afterwards). Thus I decided to separate the right wall from the main body, adding some plugs and holes for later assembly. This results in two parts that both can be printed without any support structures at all.
Instead of extruding a solid body and then hollowing it out, this time I used separate extrusions for the main part and the two side walls. I also generously used the “Fillet” feature to chamfer the inner corners:
This design took three iterations until I arrived at a fully functional dispenser: The initial print was too tight so the batteries would get stuck inside. Also, the plugs and holes I had designed for assembling the two printed parts wouldn’t fit (but they did look rather cool at least).
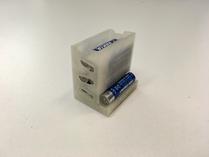
For the second iteration I adjusted the design by increasing the inner dimensions (especially the height of the zig-zagged sections), and I also completely revised the connection plugs. The printed model did almost work, but there was a bit too less clearance for the plugs so I couldn’t get the single wall to fit tightly to the main body. Increasing the clearance was quickly done however, and so I got to the third and final version:
Links
- Model on Thingiverse: http://www.thingiverse.com/thing:2196941
- Fusion 360 source file
Update September 2017: AAA Versions
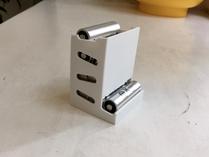
Recently I created alternative versions of both models, suited for type AAA batteries:
Links
First model (AAA variant):
Second model (AAA variant):
-
In our office we have quite a lot of AA batteries for wireless mice and keyboards. ↩
-
Made possible by the cool “parametric timeline” feature in Fusion 360. ↩
-
Overhangs up to 60 degrees can usually be printed without support structures. ↩
-
Usually I get at least one dimension wrong the first time, or something else doesn’t work out as planned. ↩
Leave a comment