00143D Printed Replacements for Broken Furniture Parts
2017-12-14
Having a 3D printer is fun. And sometimes it even is actually useful: Recently I printed replacements for two very specific broken furniture parts.
Basin Sink Cover Thingy
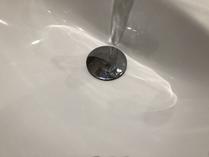
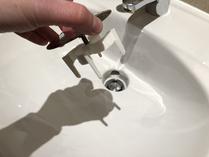
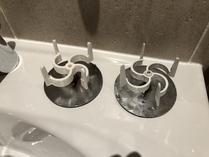
At my father’s, the bathroom basin sinks are covered with a chrome disc that is held in place by a funny looking plastic spacer thingy. It’s rather hard to describe, just look at the photos below:
Recently, one of these spacer thingies broke and my Dad asked me if I could 3D print a replacement part. Challenge accepted!
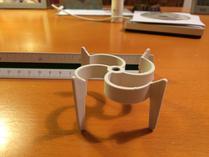
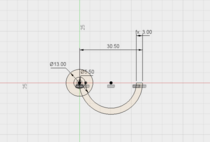
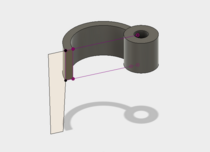
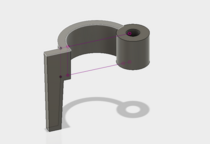
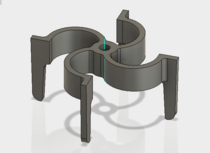
After taking the relevant measurements I worked on recreating the part in Autodesk Fusion 360. Looking at the part from the top it consists of a center cylinder with four identical arms attached, each arm ending in a triangular stand. I decided to create a sketch for the cylinder and one of the arms. After extruding along the z axis I created the stand (again by creating and extruding a sketch), and finally I used Fusion’s “Circular Pattern” function to duplicate the stand 3 more times around the centre axis.
I tried to make the replacement closely match the original, but deliberately deviated from the original design in two points:
- I slightly thickened the arms to make them more robust against breaking.
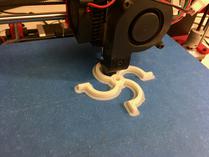
- I cut off the upper triangular parts of the stands, making their top sides flush with the top side of the arms and the cylinder. This resulted in easier printing because by simply turning the part upside down it now can be printed without any support structures.
Also I didn’t bother with threading the centre hole. I just made it a tight fit and let the screw itself do the threading when turned in for the first time.
In the end the replacement part worked out very well. Because it’s used in the bathroom it won’t ever come in contact with water hotter than about 40°C, so having it printed with PLA is no problem. For a kitchen sink part I’d strongly recommend using ABS, though.
Sliding Door Guide
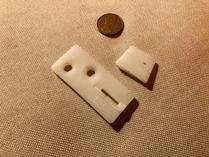
At my sister’s, a sliding door guide broke because of my niece and my nephew constantly pushing the door perpendicular to its designated operating direction.
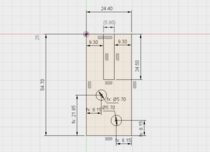
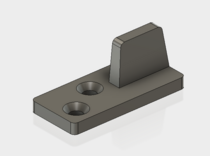
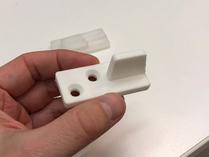
This one was easy. Very easy. In fact it was so easy that I went as far as exactly reproducing the asymmetric slopes at the front and back of the “fin”, even though it wouldn’t have made any difference: The fin’s only important dimensions are its height and width. And for the base plate, only the positions of the screw holes were important: They had to match the original positions so that we could reuse the existing holes in the floor when mounting the replacement part.
Direction of Stress vs Printing Orientation
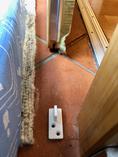
The mounted guide is only ever stressed in one direction: If someone decides to push against the door instead of sliding it, the door presses against the fin from the side. This is exactly where (and why) the old part broke.
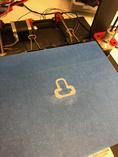
Because 3d printed parts are weakest along their z axis, printing the part the obvious way (with its base plate sitting flat on the printer’s build plate) wouldn’t have been such a bright choice. Instead I decided to print the part standing upright on one of its short sides, even though that meant support structures where necessary for the fin and the holes.
This part too worked out very well, and the door should now be safe against door-pushing toddlers for at least another few months.
Leave a comment